 Ultione / Journal
Compressed Sofa Guides
How Are Compressed Sofas Made? Foam, Fabric and Quality Checks
A closer look at the work behind a compressed sofa: shaping its foam, fitting its corduroy cover and checking the finished form.
The short answer
What you need to know
A foam-led compressed sofa is shaped and upholstered at the factory, checked as a finished product, then compressed for delivery. Foam cutting, cover patterns, seams and post-compression shape checks each control a different part of the result. The small shipping package comes after that work.
- Foam shaping
- Builds the seat and arm contours
- Cover pattern
- Places fabric and seams around that shape
- Final check
- Measures the upholstered product
- Buyer focus
- Expanded dimensions and visible finish
A compressed sofa gets its seat shape, arm contours and fitted cover before it reaches the shipping box. For a foam-led design, manufacturing moves from selecting and shaping the foam to cutting and sewing the upholstery, fitting the cover and inspecting the completed sofa. Compression then reduces its delivery size.
Understanding that sequence makes product information easier to judge. A precise foam cut, a strong sewing thread and a neat finished arm answer different questions. You want those parts to work together, rather than choosing a sofa because one impressive number appears in the listing.
The useful distinction is between the foam core, the fabric pattern and the finished upholstered product. Each has its own dimensions and checks. Below, we translate manufacturing specifications into things you can understand from a product page, a close-up photograph or a measurement.
The foam core takes shape before it goes in the box
Foam fabrication turns material into the shapes a seat needs. A straight slab can become a seat base; a shaped piece can create an arm or back contour. The Polyurethane Foam Association's fabrication guide describes cutting, contouring and bonding as ways to make foam into usable components. The tool and process follow the shape being made.
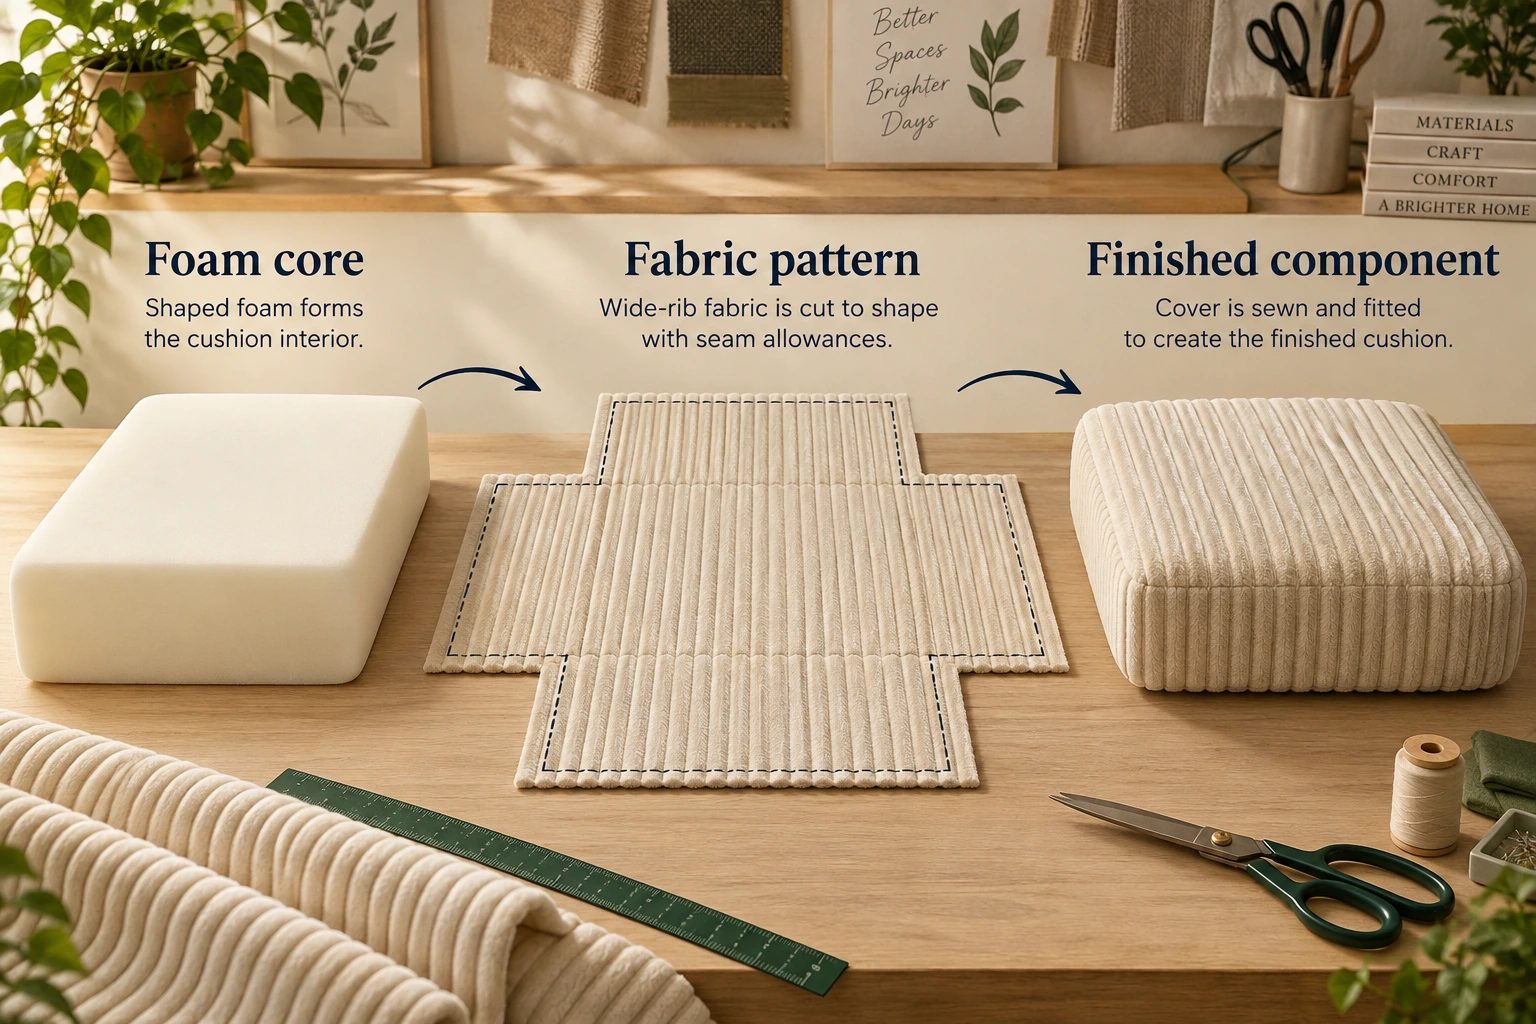
There is an earlier stage, too. Newly produced polyurethane foam needs time to cure before later processing. The factory process reference reviewed for this guide uses a 24–48-hour curing window. That is a production step before fabrication, not a countdown for your sofa after delivery. At home, you are allowing previously made foam to recover from compression.
Imagine an arm with a rounded upper edge. Its inner contour needs to give the cover somewhere to sit. The cover pattern must then account for that curve, the seam location and the thickness of the fabric. Making one part accurately does not remove the need to fit and check the others.
Foam material selection also happens before the final upholstery check. Density describes mass for a given volume; firmness describes resistance to indentation. PFA treats density and firmness as different properties. A density designation alone does not describe the finished seat's depth, height or contour. Our density and firmness guide explains that material distinction in more detail.
For this manufacturing question, the point is how the material becomes a particular shape. A buyer should be able to see the expanded seat, the back cushions and the chaise proportions. A box photograph cannot show those features, because it shows the product in a different state.
A 1 mm cut and a 2 cm finished-size tolerance measure different things
A tolerance is the allowed difference from a specified dimension. Its meaning depends on the object being measured. Foam cutting accuracy concerns the inner piece; fabric cutting concerns a pattern piece; finished-size tolerance concerns the upholstered product after those pieces come together.
The manufacturing process specifications reviewed for this guide illustrate the distinction:
| Part checked | Process example | In inches |
|---|---|---|
| Foam cutting | ±1 mm | ±0.04 in |
| Fabric cutting | Deviation no greater than 5 mm | 0.20 in |
| Finished outer dimension | ±20 mm | ±0.79 in |
These are process specification examples, with different measurement objects. The last row concerns a soft, covered product rather than a bare foam edge. They should not be ranked as if all three numbers describe the same operation.
Here is an original calculation. Suppose a design calls for a finished width of 2,000 mm, with a tolerance of ±20 mm:
- Smallest width in that example: 2,000 − 20 = 1,980 mm.
- Largest width: 2,000 + 20 = 2,020 mm.
- Distance from the smallest to the largest: 40 mm.
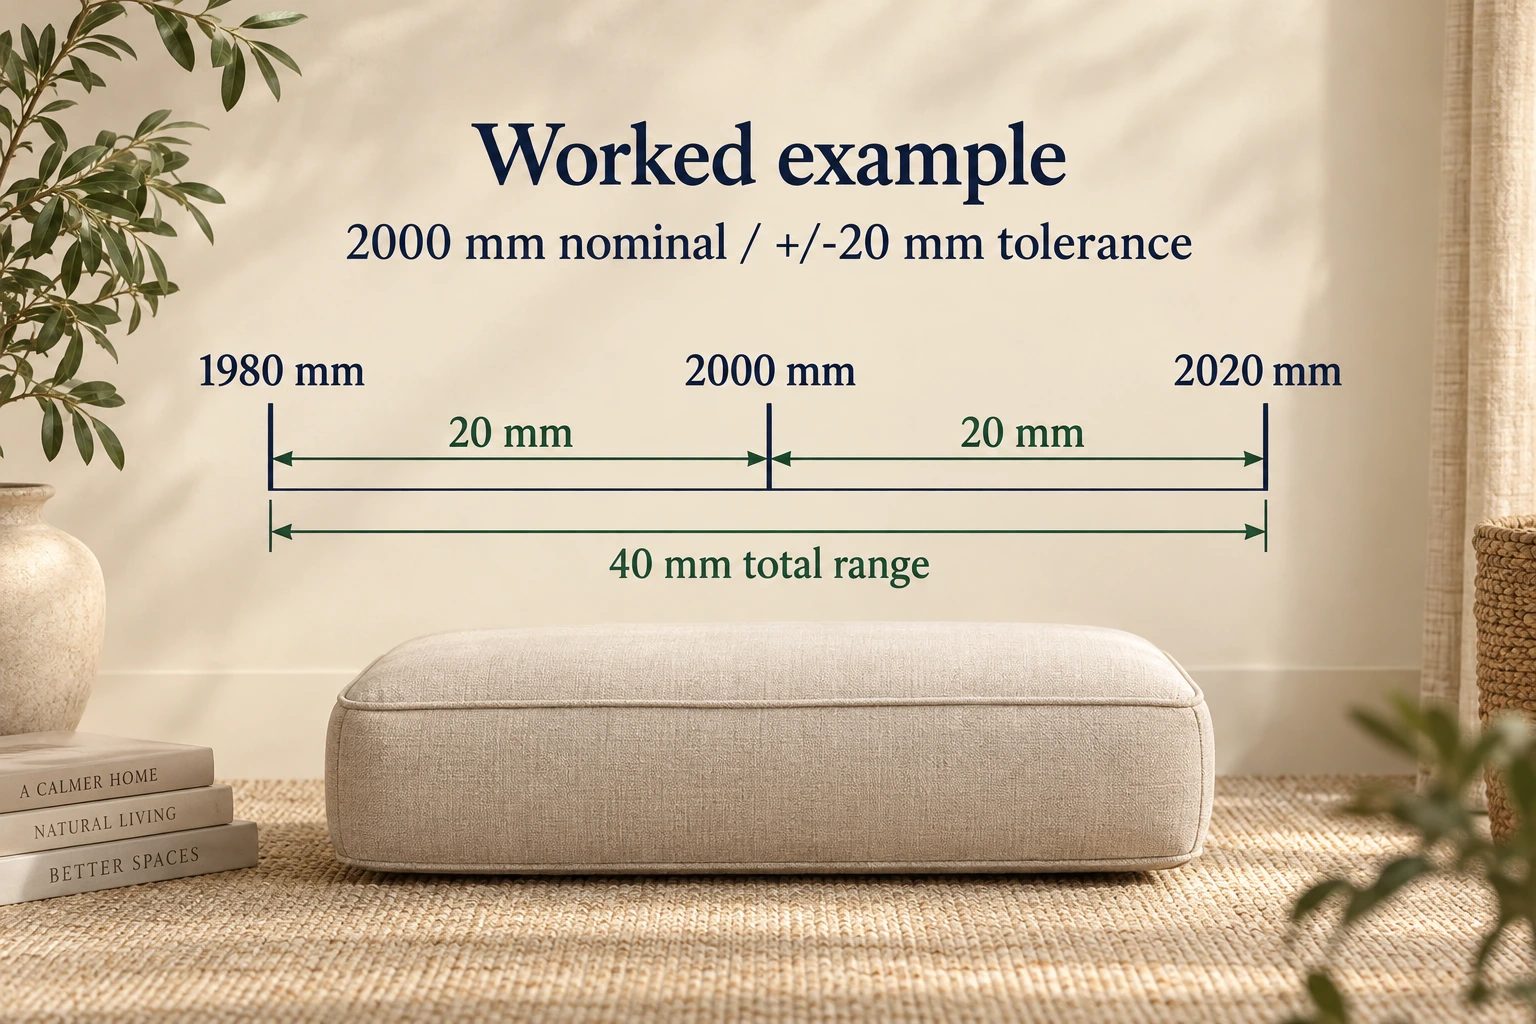
In inches, the nominal width is about 78.74 inches, and the interval runs from about 77.95 to 79.53 inches. The 40 mm total interval is not an extra 40 mm permitted on each side of the nominal value. Reading the plus/minus sign correctly prevents that mistake.
Measurement conditions matter as well. An arm measured at its widest outer point and a seat measured between its arms are different spans. Pulling a tape over a curved surface follows that curve; measuring straight across records a different distance. A useful specification identifies where the dimension starts and ends.
For shoppers comparing US listings in inches and Canadian room measurements in either inches or centimeters, retain the original units until the calculation is finished. One inch is exactly 25.4 mm. Rounding every intermediate value can make a tight fit look more generous than it is.
Use the expanded product dimensions to shortlist a model. Do not substitute a cutting-machine accuracy figure for the width that will occupy your room. A finished dimension, a visible measuring diagram and a clear chaise orientation give you more practical information.
A corduroy cover needs more than a close fit
A cover is made from shaped panels, not a single rectangle wrapped around the foam. Its pattern determines which surface each panel covers and where the joins fall. On corduroy, the raised ribs make that panel planning especially visible.
There are two different kinds of allowance to understand. Seam allowance is fabric between a stitch line and a cut edge. Fit or expansion allowance is room planned into the cover for the body it will cover. Neither means the cutter can randomly change the pattern.
The factory process reference includes 10–20 mm of expansion allowance and a 30 mm seam-edge provision. Those correspond to roughly 0.39–0.79 inches and 1.18 inches. They describe planned construction details, separately from the cutting deviation above.
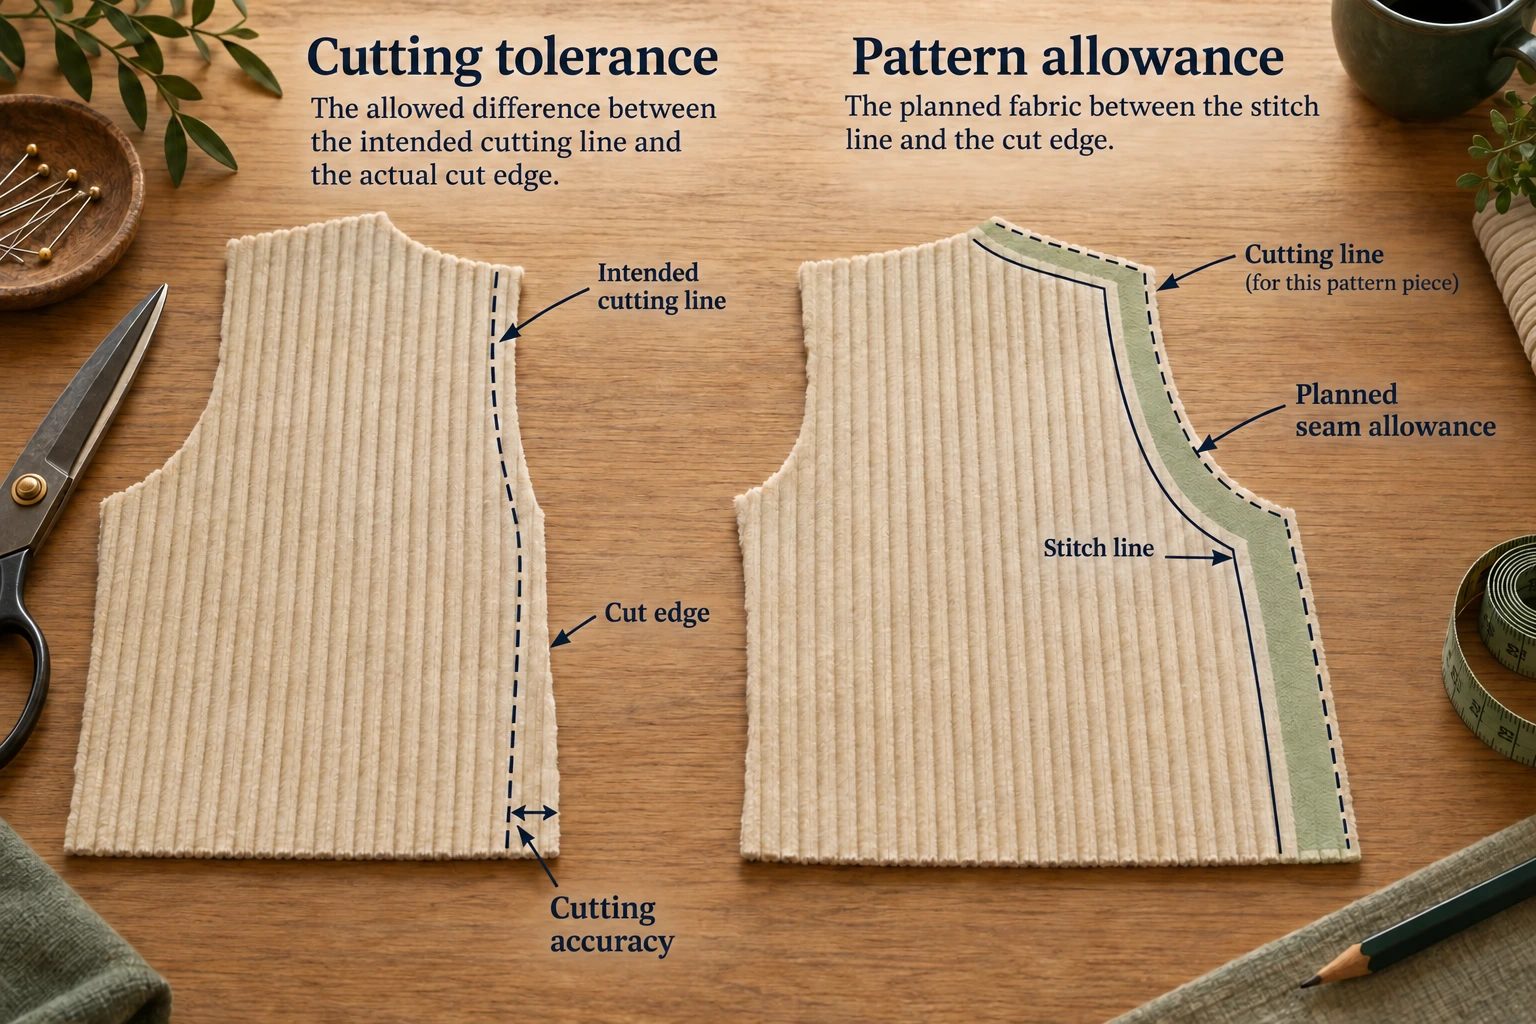
You can see why the distinction matters at a corner. If a panel is meant to turn around an arm, some fabric belongs beyond the visible surface so the join can be sewn. Counting all of that fabric as an error would confuse construction with cutting accuracy. Conversely, accurately cutting an unsuitable pattern still leaves an unsuitable cover.
The ribs also help you read the design. Look at one surface at a time: the arm front, the arm top, the seat and the back cushion. Each can have its own deliberate direction. A seat with ribs running toward its front and a cushion with horizontal ribs need not form one continuous stripe across the whole sofa.
Useful details include the way the cover follows a rounded corner, whether a seam sits along its intended edge and whether the ribs within a panel look straight. Lighting can change the apparent shade of the pile, so a dark band in one photograph is worth checking from another angle before interpreting it as a construction fault.
A wide room photograph helps you judge proportion. A close product photograph helps you judge the visible finish. When choosing corduroy, use both. Ask for the particular surface you want to inspect rather than another distant lifestyle image.
Component numbers do not replace a finished-sofa check
Manufacturing checks happen at several levels. A thread test measures thread. A fabric test measures a sample of fabric. A completed seam includes the fabric, stitches and the way the panels join. The upholstered sofa adds its full geometry and how the cover fits around it.
That distinction makes a material report easier to read. A breaking-force number for a thread is not the load capacity of a sofa. Likewise, a zipper test is about the tested zipper or assembly. Turning either number into a claim about the weight a seat can carry changes the measurement object.
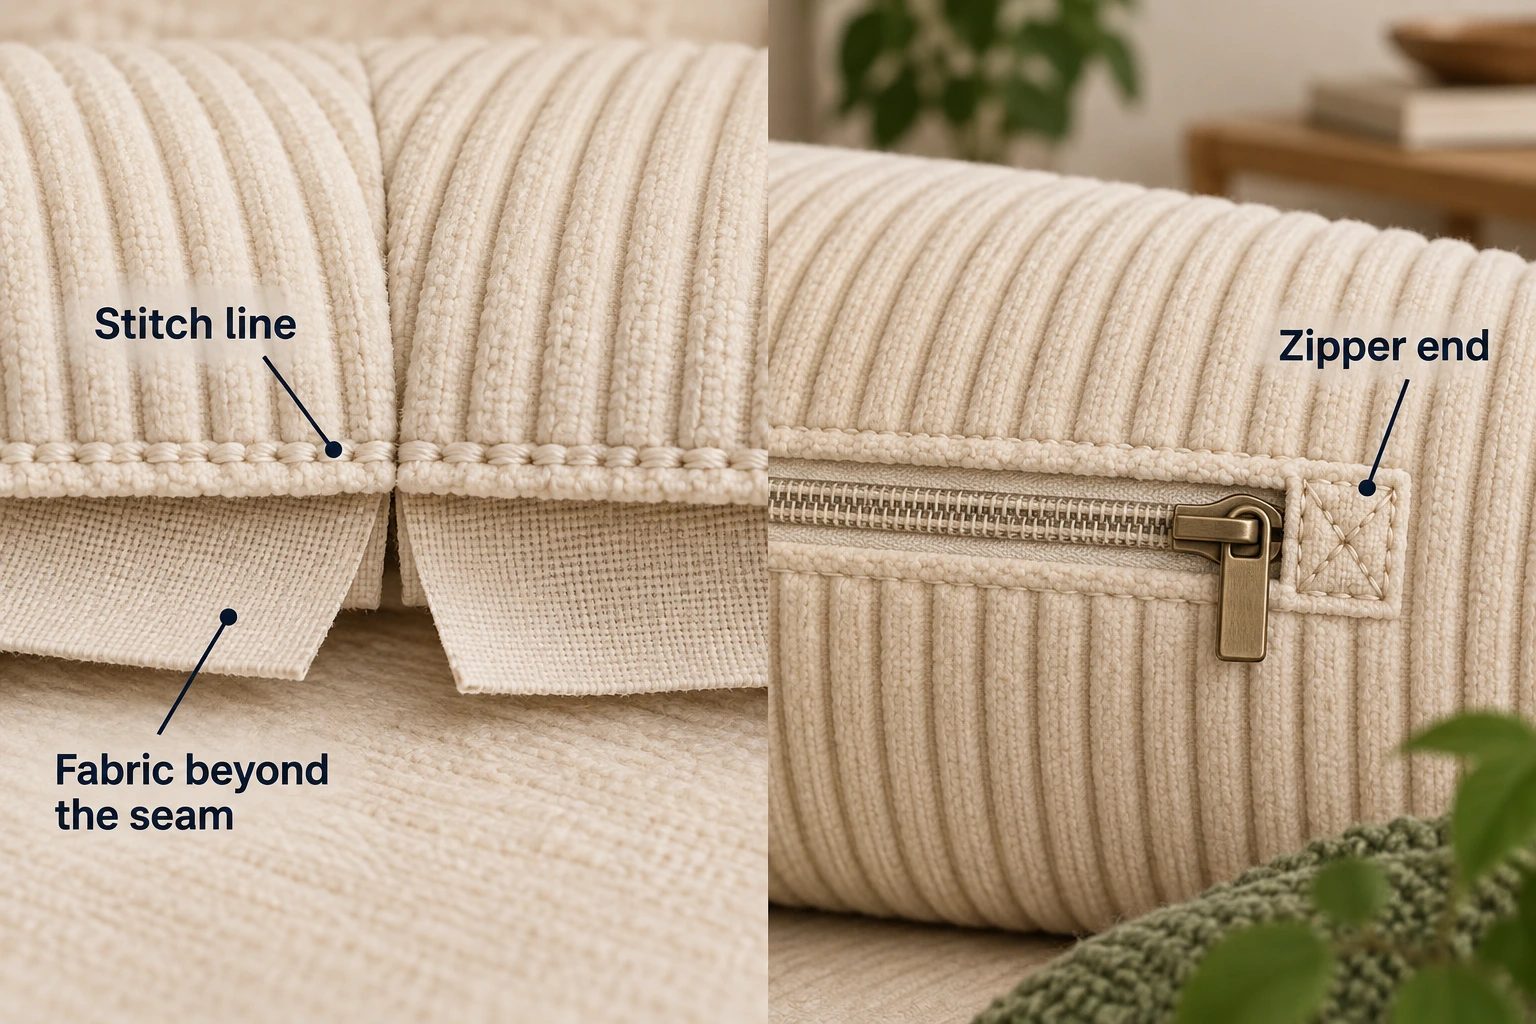
Thread supplier Coats explains that seam design involves strength, stretch, bulk and the choice of thread. Its technical guide discusses apparel seams, but the distinction is useful here: thread strength is one input into a sewn join, not a description of the entire upholstered object.
For example, a neat-looking join should still be considered alongside the nearby panel. Does the seam lie where the design places it? Does the corner follow the body? Is there a visible skipped stitch or an opening? Those are direct observations of the assembled cover, rather than a conclusion drawn from a raw-material number.
Fabric abrasion tests answer another question: resistance to wear under the specified rubbing method. They do not describe the accuracy of a sewn corner or the location of a zipper. Our fabric test guide covers the methods; this page concerns how tested materials become a finished sofa.
When comparing listings, organize the evidence by its object. Keep material properties together, visible construction details together and full-product dimensions together. That makes it easier to notice what a product page explains well and what you still need to see.
Compression quality is checked on the whole shape
Once the sofa is covered, compression changes its shipping state. A useful manufacturing comparison checks the complete product before compression and again after recovery. Watching one small foam piece rebound leaves the cover, corners and assembled shape outside the comparison.
The practical check follows the same points on the same model. Record the outer width, the full front-to-back depth of the chaise and the unloaded seat height. Then inspect arm corners, seat-back joins and cover alignment. Use a consistent floor, measurement direction and recovery condition so a changed method does not look like a changed product.
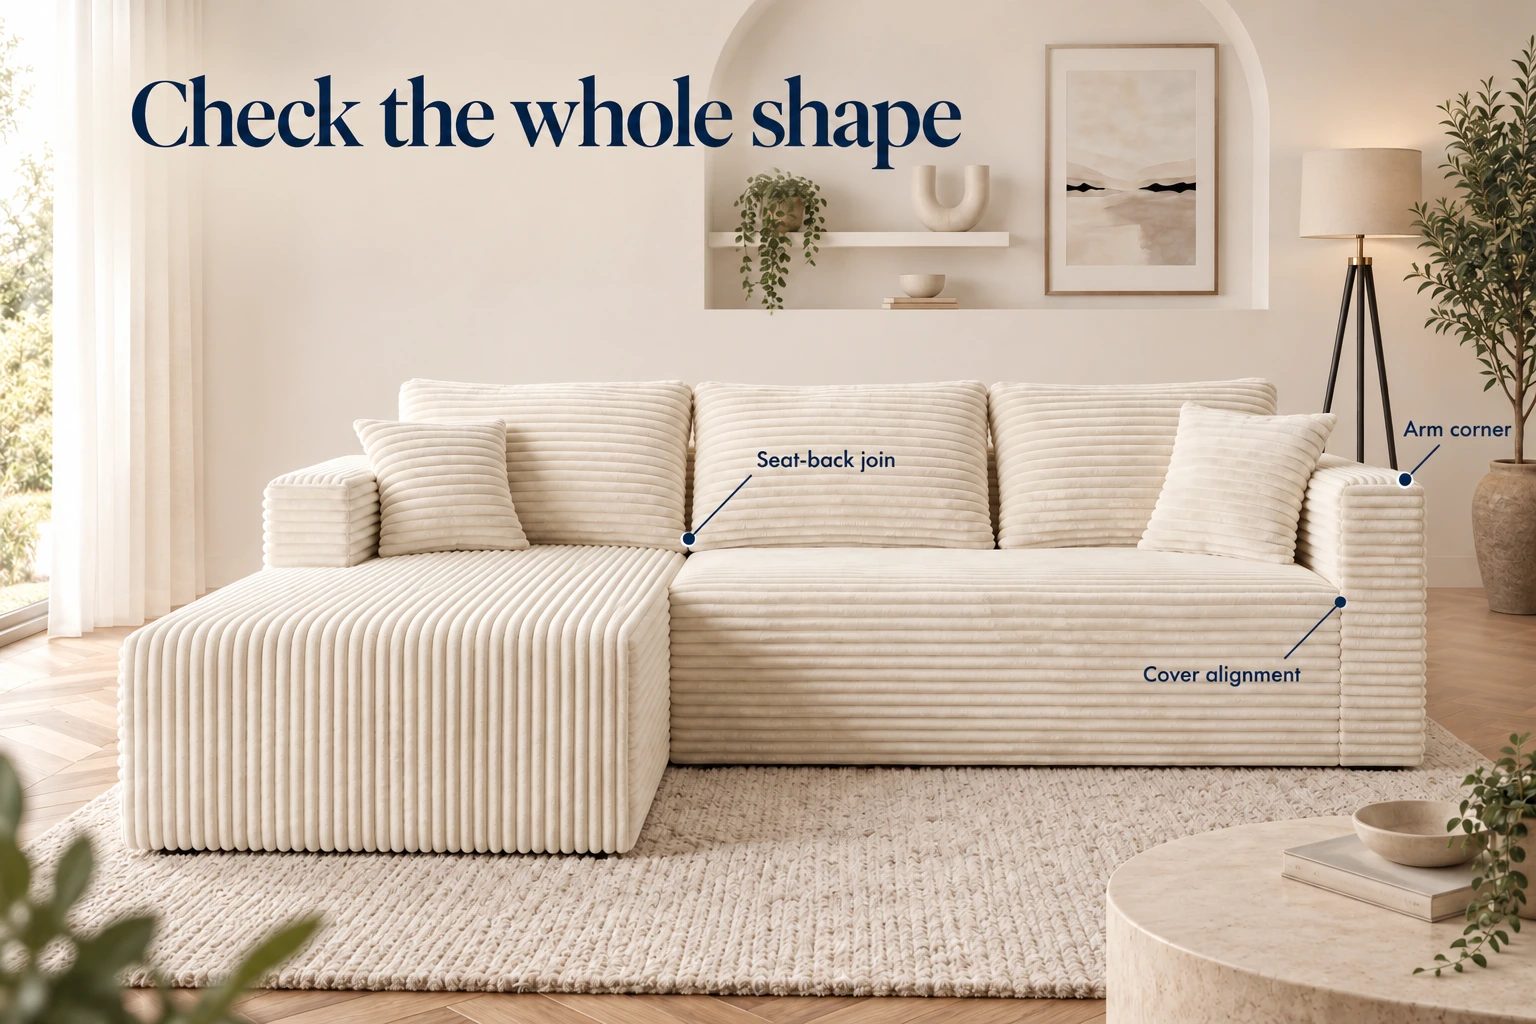
Consider a chaise-depth measurement. It runs from the rearmost part included in the product's dimension to the front of the chaise. Measuring only the length that projects beyond the neighboring seat records the extension, not the full depth. A diagram needs to make that distinction visible.
Photographs work best alongside measurements. A front view shows the seat front and arm heights; an angled view shows the chaise projection; a close view shows a seam or corner. Taking each photograph from a comparable position makes the sequence easier to interpret than mixing a low-angle before photo with a high-angle after photo.
For a buyer, look for the sofa's settled, expanded form as well as its opening video. The video explains the delivery experience. Product dimensions and detailed views explain what stays in the room. Our expansion guide covers the at-home stage without replacing the manufacturing checks described here.
What to look for before choosing your sofa
You can use manufacturing knowledge without reading a factory procurement manual. Work through these five checks on the model you are considering:
- Identify the finished shape. Find the overall width, full chaise depth and orientation. Keep carton dimensions separate so you compare like with like.
- Inspect the visible upholstery. View the arm corner, seat surface and back cushion close enough to see their ribs and seams. Check each panel against its intended direction.
- Read each number with its object. A foam designation, fabric result, cutting tolerance and finished dimension each describe something different.
- Compare shipping and expanded views. Understand what the package looks like and what the complete sofa looks like after recovery.
- Match the form to your sitting habits. Use seat height, usable depth and chaise geometry to judge upright sitting and feet-up lounging. Manufacturing precision alone cannot choose that position for you.
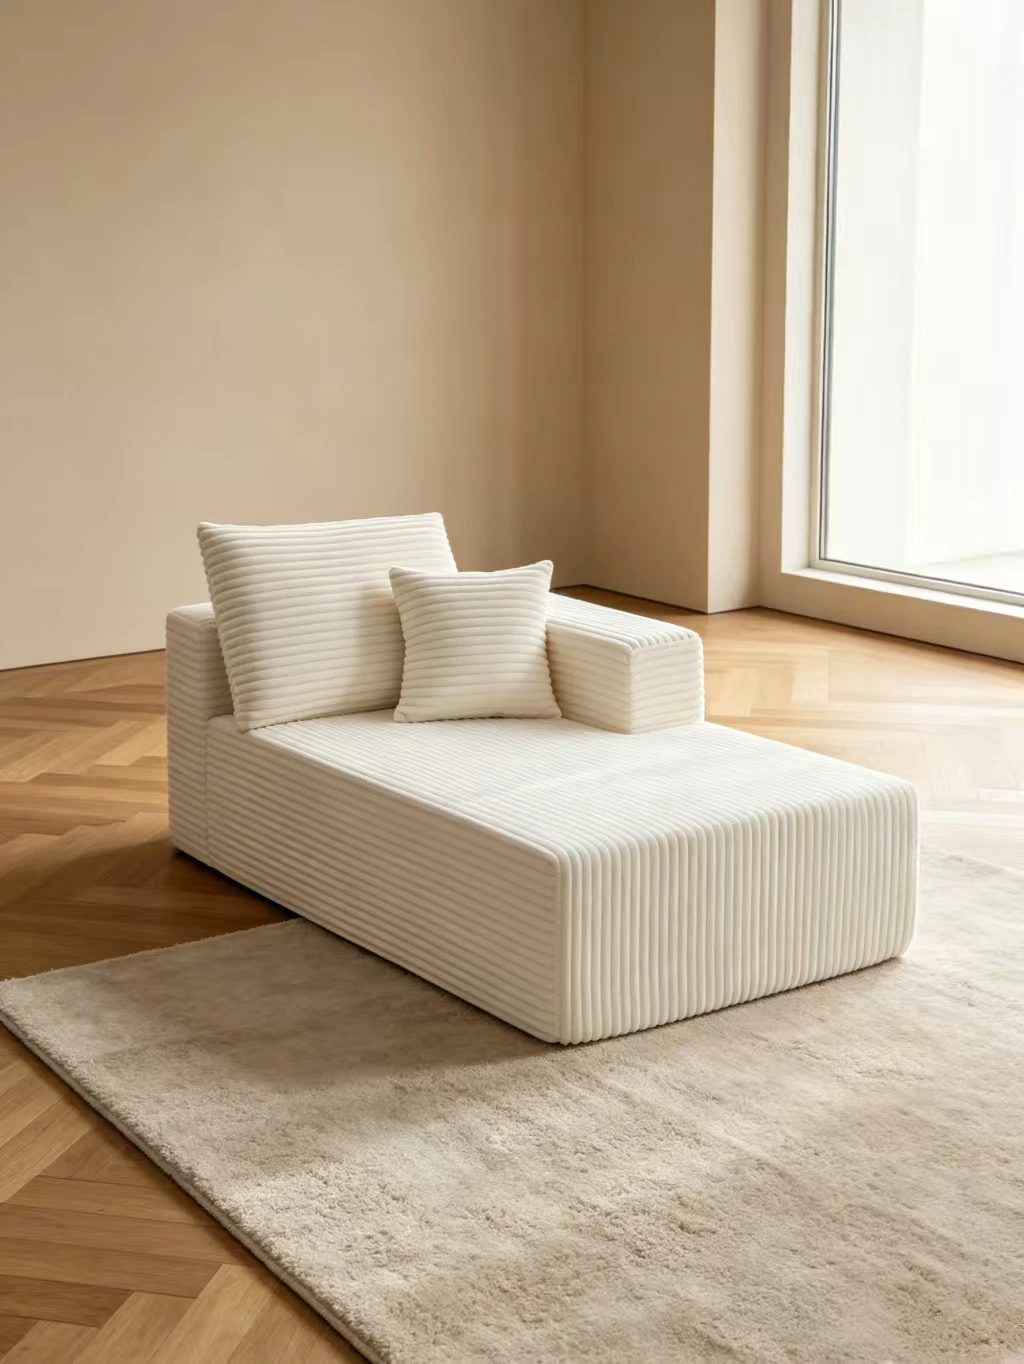
For a concrete product example, open THE L compressed sectional and compare its expanded silhouette with its dimension information and corduroy details. If the opposite orientation suits your room, use THE L's right-hand configuration. The product views let you apply the checks to a specific model rather than judging an anonymous manufacturing illustration.
 THE L compressed sectional
If you are still deciding between L- and U-shaped footprints, the room-size comparison guide handles that separate choice. Start with the finished form you want, then check the material and construction information that explains it.